You have done the fun part: downloaded a printable puzzle book, printed every page, and now you are holding a loose pile of paper. A loose pile is fine for one afternoon, but if you want your book to feel like a real book — something you can toss in a bag, gift to a friend, or keep by your favorite chair — you need a binding. The good news: you do not need a binding machine or a trip to a print shop to get one. Here are five easy home binding methods, from cheapest to fanciest.
1. Three-hole punch + ring binder (the classic)
This is the workhorse method and the one we recommend for thick puzzle books. Punch each page with a standard three-hole punch, then slip them into a binder. Use tab dividers if you want sections (word searches here, crosswords there). The total cost is whatever a binder and punch cost — most households already own both. Bonus: you can add pages later, remove answer keys, or reorganize puzzles however you like.
2. Binder clips or fold-back clips (the 30-second method)
For thin books of 20 pages or fewer, three large binder clips along the left edge do the job beautifully. They hold pages flat while you solve, and they come off in seconds if you want to pull a single page out for a road trip. Fold-back clips with handles removed look surprisingly neat — several brands even sell them in colors to match your book’s cover.
3. Professional spiral binding at an office supply store (the gift-worthy method)
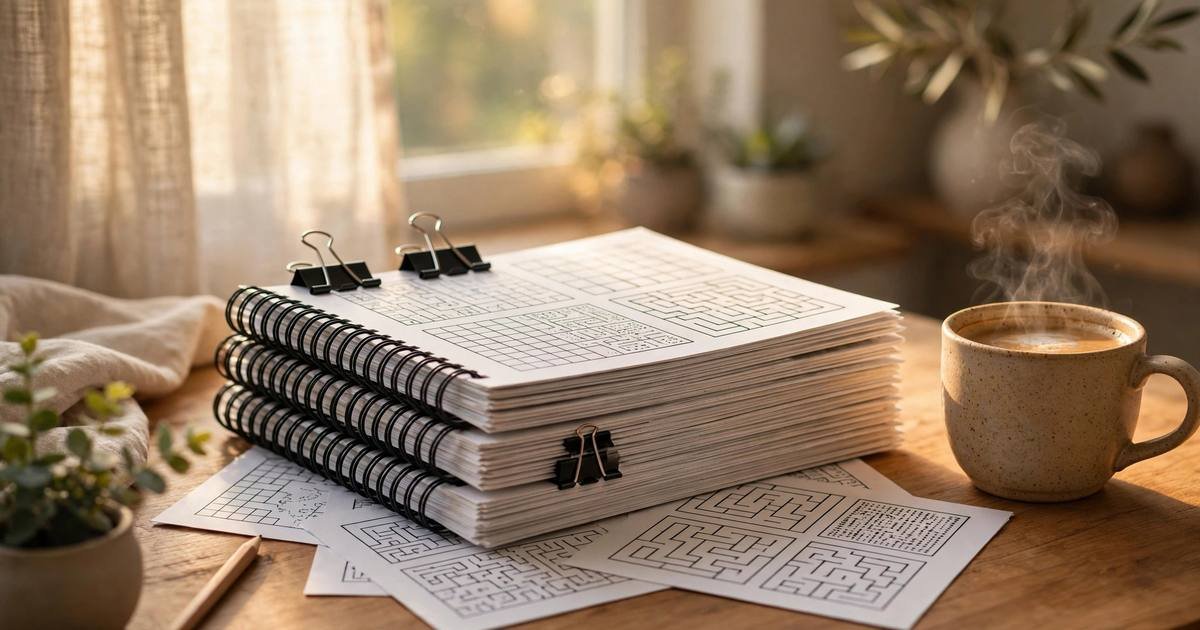
If you want a book that opens perfectly flat and looks store-bought, take your printed stack to an office supply store’s print center. Spiral or coil binding usually costs a few dollars per book and takes minutes. This is the method to choose when you are printing a puzzle book as a birthday gift, a classroom set, or a holiday present — the finished product looks like it came off a shelf.
4. Saddle-stitch stapling (for thin booklets)
For booklets of 8–24 pages printed double-sided, fold the stack in half and staple along the fold. A long-reach stapler works best, but you can also open a regular stapler flat, staple through the fold into a corkboard or folded cardboard, and fold the staple legs down by hand. This is how real magazines are bound, and it gives small puzzle books a wonderfully authentic feel.
5. Hole punch + book rings or ribbon (the charming method)
Punch two or three holes along the left edge and thread them with metal book rings, a ribbon, or even twine for a rustic look. Book rings let pages swing freely, which solvers love, and the method is cheap, quick, and oddly satisfying. For kids’ books, colorful rings make the binding part of the fun.
Pro tips for a professional finish
Print double-sided to halve the thickness (and the cost). Use 24 lb or 28 lb paper instead of standard 20 lb — pages feel sturdier and ink bleeds less. Always print the cover on the heaviest paper your printer accepts, and consider laminating it with an inexpensive self-adhesive laminating sheet. Finally, let inkjet pages dry for a few minutes before stacking so nothing smudges.
A well-bound printable book stops feeling like a stack of printouts and starts feeling like something you own. Pick the method that matches your budget and your book, and happy solving.
Teachers printing classroom sets: if you love printable puzzle activities, check out the free printable Halloween mazes for teachers over on our sister site — 20 kid-friendly mazes with an answer key, ready to print and bind.